Door Installation

Installing Your Glass Storefront Door

DO NOT UNLOCK the pre-assembled door until the unit is completely installed. Unlocking the door prior to completion of the installation may result in operational problems with the door and excess stress on the hinges.

Pre-assembled Door Installation Steps

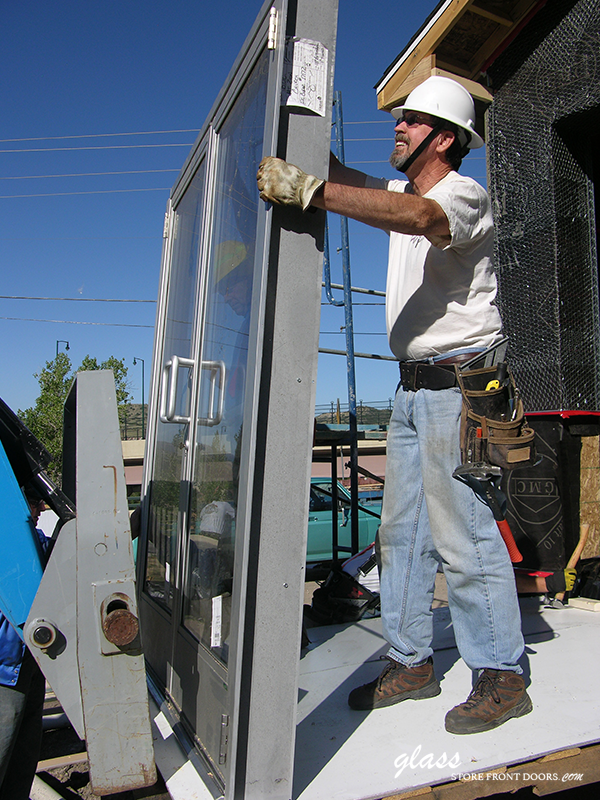
  1. After uncrating the door, position the door under the girt with the outside edge of the sub framing flush with the outside of the girt.
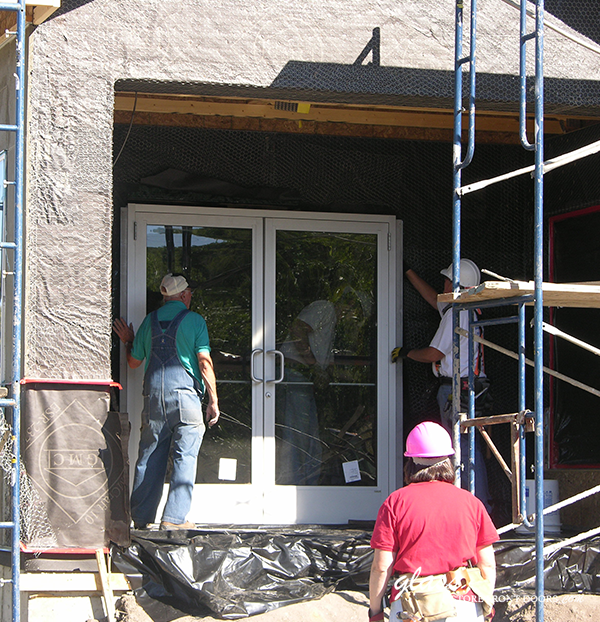
  2. Plumb and square door unit. Check the gap between the top of the door panel and header. There must be an even reveal.
  3. Attach side clips against the bottom of the wall girt.
  4. Anchor the base clips to the floor.
  5. Remove the screw holding the door leaf shut.
  6. Anchor threshold to the floor. Caulk or grout under the threshold

Installation into Existing Framing

  1. Check existing framing wall and header to make sure it is plumb and square.
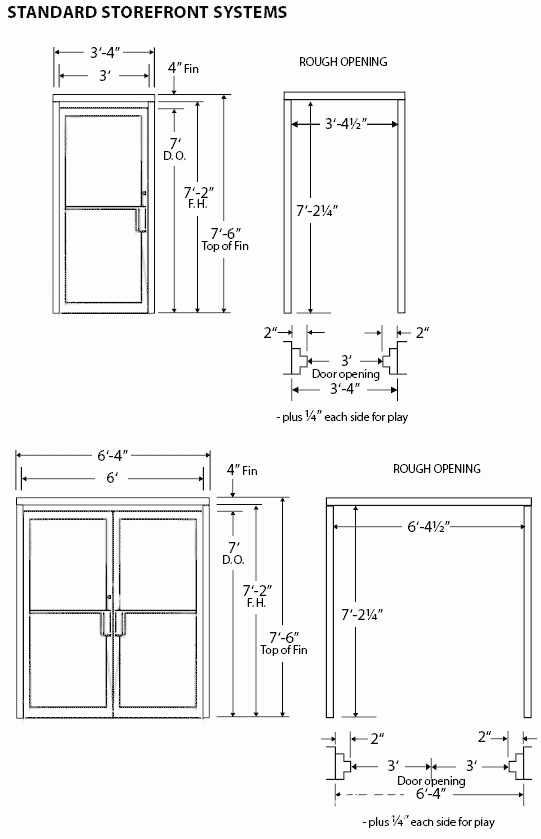
  2. Check clearances to ensure the opening is adequate for door clearance specifications.
  3. Anchor door framing to existing subframe typically flush with the outside of the wall.
  4. Hang door leaf on pre-assembled hinges and check for proper operation.
  5. Install door closure. It has adjustments for the latch speeds as well as an adjustment for the back check.
  6. Anchor threshold to the floor. Caulk or grout under the threshold.

Storefront Door Installation Guide w/ Subframes

NOTE: Keys, fasteners, anchor bolts, and component instructions for this door are located in the padded envelope which is inside the shipping crate.

  1. Uncrate the door unit. Lift the door unit and position it in the desired location under the girt with the outside edge of the door jambs flush with the edge of the concrete floor. (The threshold may extend out slightly.)
  2. PLUMB AND SQUARE THE DOOR UNIT. Check the gap between the top of the door leaf and the frame header. It must be consistent.
  3. With the door plumb and square, anchor the door unit to the floor through the base mounting clips using the (4) anchor bolts provided.
  4. Remove the screw(s) holding the top mounting clips and slide the clips up to the bottom of the wall girt. Reattach the clips to the door sub frame (framed opening) and then secure the mounting clip up into the girt using the self-drilling screws provided.
  5. Anchor the threshold to the floor using the anchor bolts provided. Note: Caulking underneath the threshold is recommended prior to securing the threshold to the floor to prevent future water leaks.
  6. Adjust sweep if necessary to eliminate light leaks.

ADJUSTMENTS AND OPERATION OF DOOR LEAF

  1. Check frame to ensure unit is PLUMB and SQUARE. If door unit is not plumb and square it may affect the operation of the door hardware components.
  2. Adjust closer by referring to closer installation insert, if needed.
  3. Check the gap between door leaf and frame. If the gap is not equal, adjust pivot hinges as needed:a. Door leaf may be removed by raising it up until the bottom hinge housing attached to the door clears the post attached to the threshold. Tilt bottom of door leaf away from the frame and then lower the door leaf to allow top post to clear header hinge housing. Do not drop!

    b. While looking down at bottom pivot hinge post, you should see two small allen head set screws. By turning these downwards or upwards, you may be able to make slight adjustments to the tilt of the door leaf as it sits in the door frame. (Tools not provided.)

    c. While looking to the side of the bottom pivot hinge post, you should see an allen head set screw which lays horizontally to the ground. Loosening this will allow you to use an open end wrench to adjust the post itself. (You may use this to make slight adjustments to the height of the door leaf as it sits in the door frame. Counter-clockwise turning will raise post, etc.) This may keep door from rubbing at top, or help with alignment of two door leafs (if a double door). Once adjusted, lock in place by tightening the set screw again. (Tools not provided. )